Disclosure: All opinions expressed here are my own. This post may contain affiliate links and I may earn a small commission when you make a purchase through links on my site at no additional cost to you. As an Amazon Associate I earn from qualifying purchases. For more information read my full disclosure.
Simple Steps to Preserve Your Jigsaw Puzzle for Display and Long-Term Enjoyment
So You’ve Never Preserved A Jigsaw Puzzle – We Can Do That!
In this article I’ll give you the steps to follow to preserve your jigsaw puzzle for hanging, framing, or for any other creative ideas you may have.
Let’s preserve a jigsaw puzzle! It’s super easy and an inexpensive way to add art to your home. Let’s get started!
Tools You Need
- Puzzle Presto Peel & Stick Puzzle Saver
- Finished Puzzle
- Scissors
- Rolling Pin
- Flat Surface
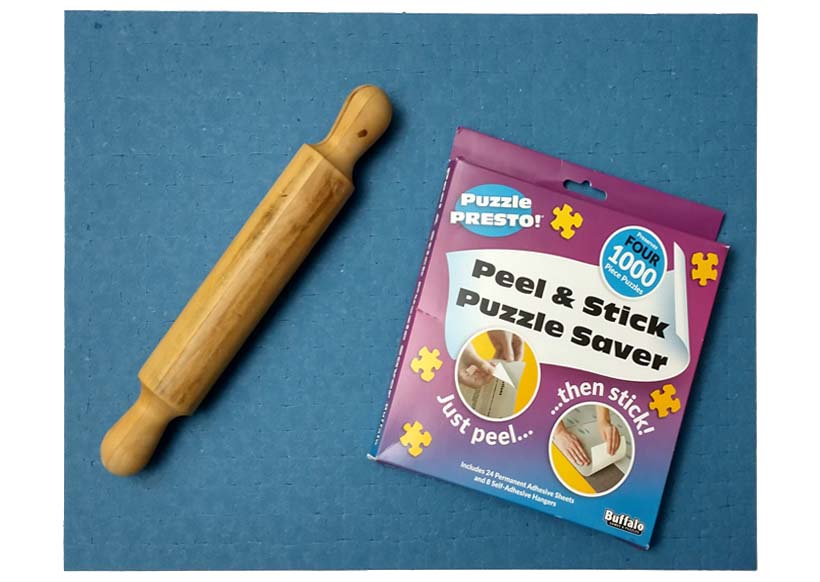
Prepare Your Puzzle
Carefully flip your completed puzzle over. I sandwich mine between two pieces of foam core board. Once the reverse side is up I make sure all the pieces are lying flat and are well interlocked.
Lay Out The Puzzle Presto Sheets
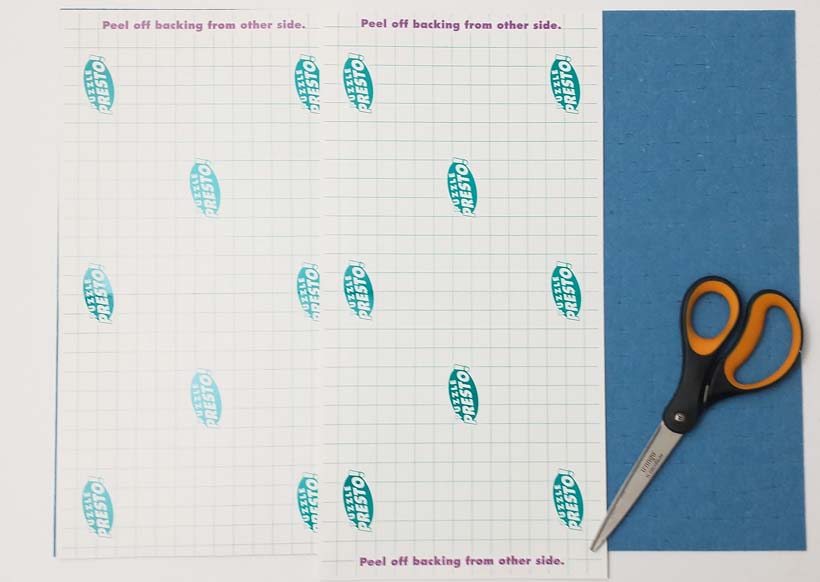
Puzzle Presto sheets come in pieces that are 15 inches long by 7 1/2 inches wide. It’s a good idea to lay out the pieces first so you know how they will fit your puzzle, and where you need to cut if necessary.
Cut Your Puzzle Presto Sheets To Fit
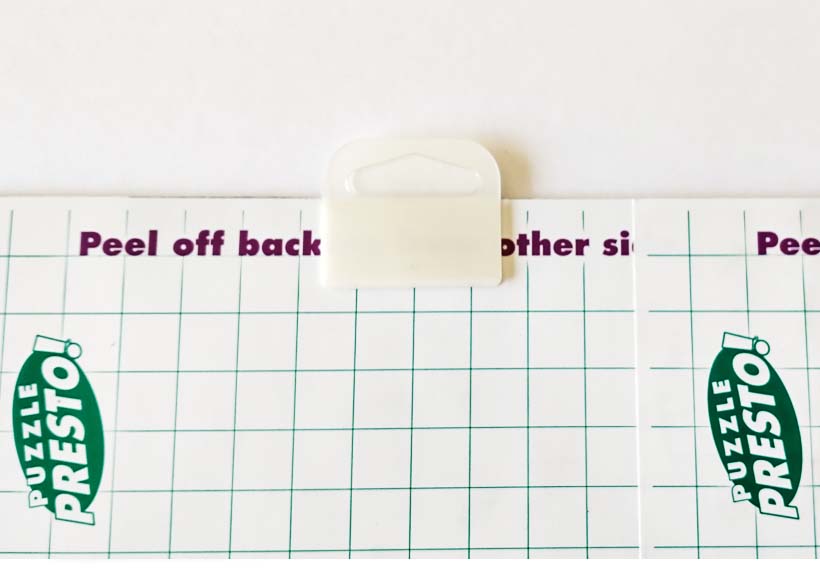
I needed to cut about 3/4 of an inch off my Puzzle Presto sheets before I could apply them to the back of my puzzle. The sheets are also perforated so you can break them into 7 1/2 inch squares easily.
Peel The Puzzle Presto Sheets And Apply
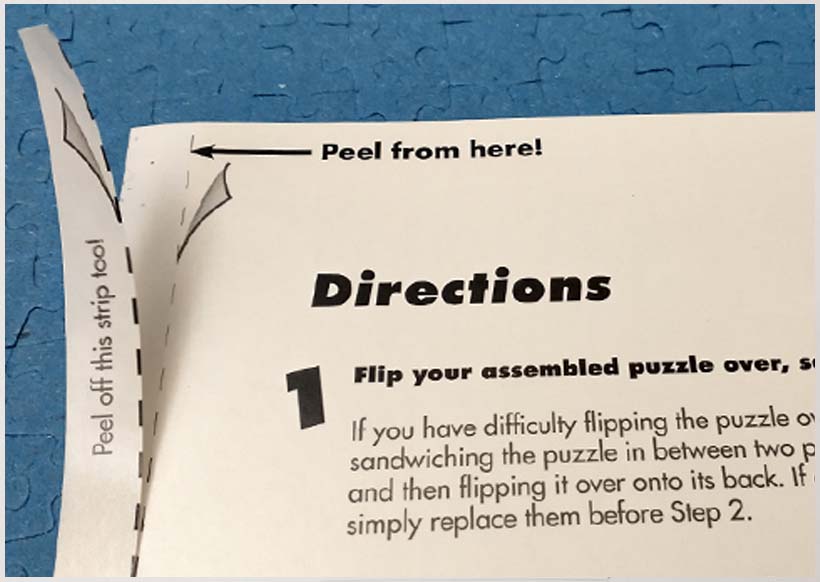
Once all the sheets are cut to size simply peel off the backing and carefully lay your Puzzle Presto sheet onto the back of your puzzle. Be sure to align the edges of the sheet with the edge of the puzzle – you don’t want any of the sheet showing when you turn the puzzle over.
Flatten Each Sheet With Your Rolling Pin
After you lay the first sheet, use your rolling pin with a goodly amount of pressure to make sure the sheet adheres to the back of the puzzle.

Overlap the Puzzle Presto Sheets
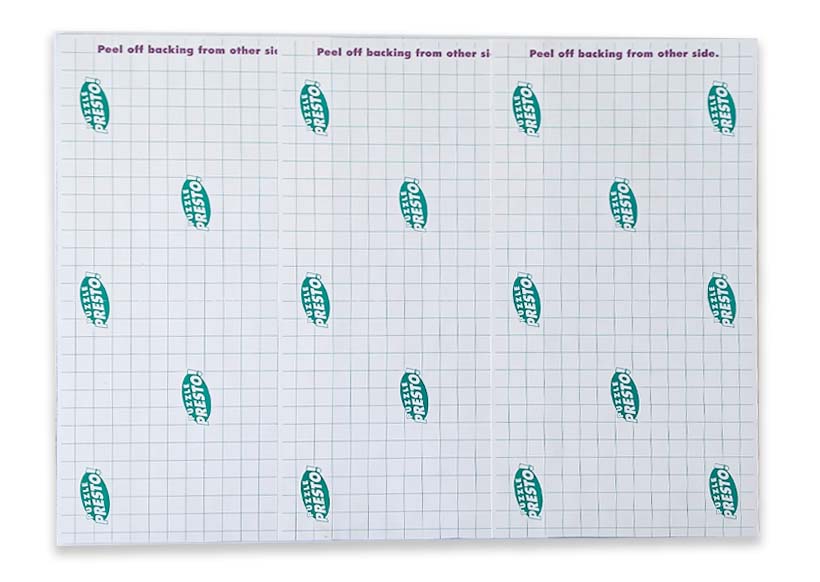
You will want to overlap each sheet as you lay it down by about 1/2 inch. The grid on the back of the sheet is helpful for cutting as well as placement.
Continue peeling and sticking down your sheets and rolling them each time until the entire back of the puzzle is covered.
Flatten Entire Puzzle With Your Rolling Pin
Once all the sheets have been peeled and placed, I use my rolling pin to roll the entire puzzle on both sides. Make sure you have a clean rolling pin!
Let Your Puzzle Cure For 24 Hours
I let my puzzle sit for about 24 hours before I attempt to hang it up. I also place books or puzzle boxes on top of my puzzle until I’m ready to hang it. I don’t know if this is a necessary step or not, but I do it just in case.
Your Puzzle Is Ready!
It’s time to hang or frame your puzzle! Puzzle Presto comes with a peel and stick hanger you can attach to the back.
There are pre-made puzzle frames available from many retailers if you want a more upscale look.
I used Command Spring Hook clips to hang my puzzle for an artsy look.

Final Thoughts
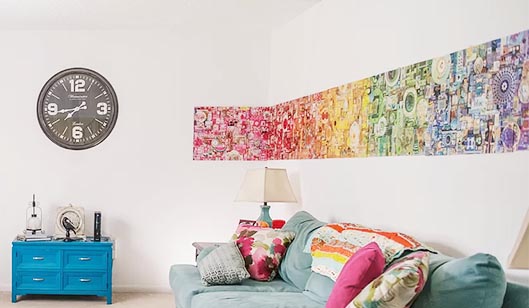
While my preferred puzzle saver is the Puzzle Presto Peel and Stick by Buffalo Games, there are other brands available. The puzzles in the photo below were hung using the included puzzle hangers. I got so many compliments on my rainbow stripe wall!
I found I was able to remove the backing from my puzzles relatively easily and without ruining the puzzle itself. It was time consuming and your results may vary. There is still a slight tacky residue on the back of the pieces but I am able to work the puzzles again without any difficulty.
What’s Next?
Click below to visit my puzzle reviews to help you get started on selecting your next puzzle!

No responses yet